Fall is here, and that means it’s time to pick out the perfect pumpkin for carving! Carving pumpkins into pumpkin lanterns is a fun family tradition that kids of all ages look forward to. But if you want your pumpkin to stand out this Halloween, you need to get creative with your carving designs.
To inspire your inner carving artist, here are some easy pumpkin carving ideas that can help you make the best pumpkin lanterns on the block this year:
Classic Carving Designs
These traditional pumpkin carving patterns are great for beginners or anyone looking for quick and easy pumpkin lanterns ideas:
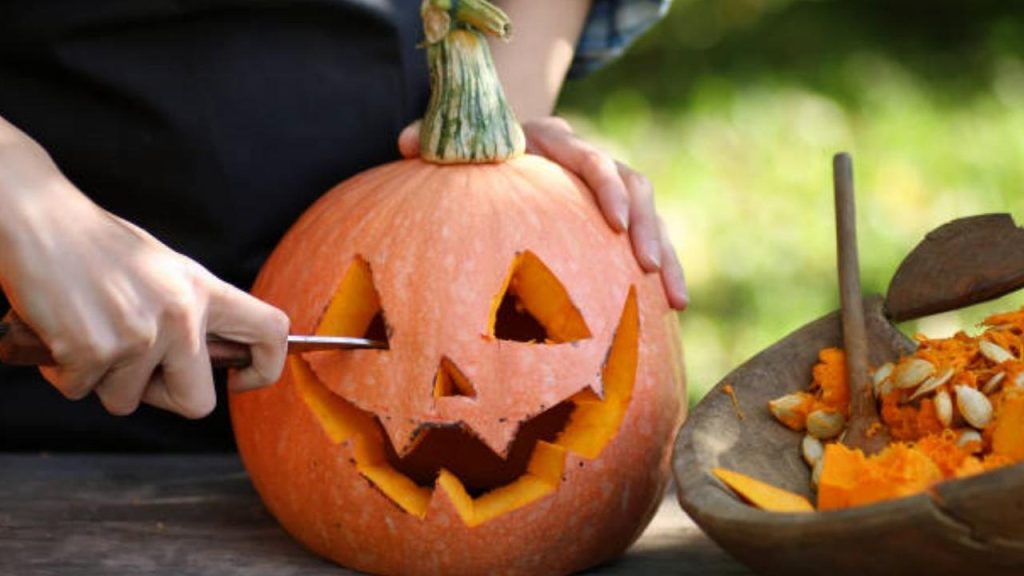
- Triangle Eyes and Nose: Carve a triangle nose and two triangle eyes in your pumpkin. Outline the shapes with markers first if you want extra precision. Make sure to cut the eyes at an angle so they look in the same direction.
- Toothy Grin: A big, toothless grin is a pumpkin lantern classic. Use a marker to draw the shape first, then carve out the smile with a knife. Make the mouth nice and wide to show off the interior of the pumpkin.
- Oval Eyes and Nose: For a simple look, carve two oval-shaped eyes and an oval nose. You can vary the sizes and place them at different heights for a fun effect. Position the nose low and wide and the eyes higher up to give a friendly appearance.
- Circle Eyes: Cut two large, round eyes to give your pumpkin a wide-eyed startled or curious look. Leave the nose uncarved for a plain face.
- Spooked Face: Lightly etch a squiggly line for a mouth and two small half-circle eyes positioned high on the pumpkin for a scared or spooked expression.
- Fanged Mouth: Skip the nose and give your pumpkin lanterns a mouth full of pointed fangs. Use small angled cuts to get a sharp fang shape.
Pop Culture Designs
Show off your fandom and carve one of these pop culture-inspired pumpkin patterns:
- BB-8: Carve the adorable droid from Star Wars with oval and round shapes. Don’t forget the orange and white colors! Use paint pens or acrylic paint to add finer details if desired.
- Minions: These cute, overall-wearing characters are easy to recreate in pumpkin form. Use goggles and blue overalls for an iconic minion look. Etch the overall straps and hair for extra detail.
- Baby Yoda: For fans of The Mandalorian, carve Baby Yoda’s instantly recognizable ears, eyes, and robe. Use a photo for reference and don’t forget the wrinkles!
- Jack Skellington: Carve the Pumpkin King from Nightmare Before Christmas with his signature suit and large eyes. Use white paint to highlight finer details.
- Ghostbusters Logo: Recreate the iconic Ghostbusters symbol with its circle and lines. You can even put it on an all-white pumpkin for ghostly effect.
- Darth Vader: The sci-fi villain’s mask with its pronounced cheekbones is perfect for carving. Use black paint and add LED lights!
Funny & Scary Faces
Take your pumpkin carving up a notch with these humorous or frightening pumpkin lantern ideas:

- Goofy Grin: Give your pumpkin a silly, crooked grin with jagged carved teeth to make people laugh. Make one tooth much larger than the rest for added goofiness.
- Angry Face: Furrowed eyebrows, circles under the eyes, and a downturned mouth give your pumpkin an angry look. Add red LED lights for an extra fierce effect.
- Vampire: Carve a dracula-style face with pointy teeth and slicked-back “hair” to give your pumpkin a scary vampire vibe. For added realism, make one corner of the mouth higher than the other.
- Zombie: Use sunken-in eyes, a hanging jaw, and etched “flesh” to transform your pumpkin into an undead zombie. Paint details like bloody mouths and scars.
- Cyclops: A one-eyed monster is a creepy and easy carving. Just cut a big round eye in the center of your pumpkin. Surround it with etched wrinkles and angry eyebrows.
- Witch: Give your pumpkin a witch’s hat, pointy nose and chin, and a toothy grin. Etch in wart details with stippling tools. Don’t forget the broom!
Animal Designs
Animal-shaped pumpkins offer cute craftsmanship without a lot of carving:
- Owl: Cut large owl eyes and use a pumpkin carving tool to texture “feathers” around the face. Add ear tufts and beak details for extra realism.
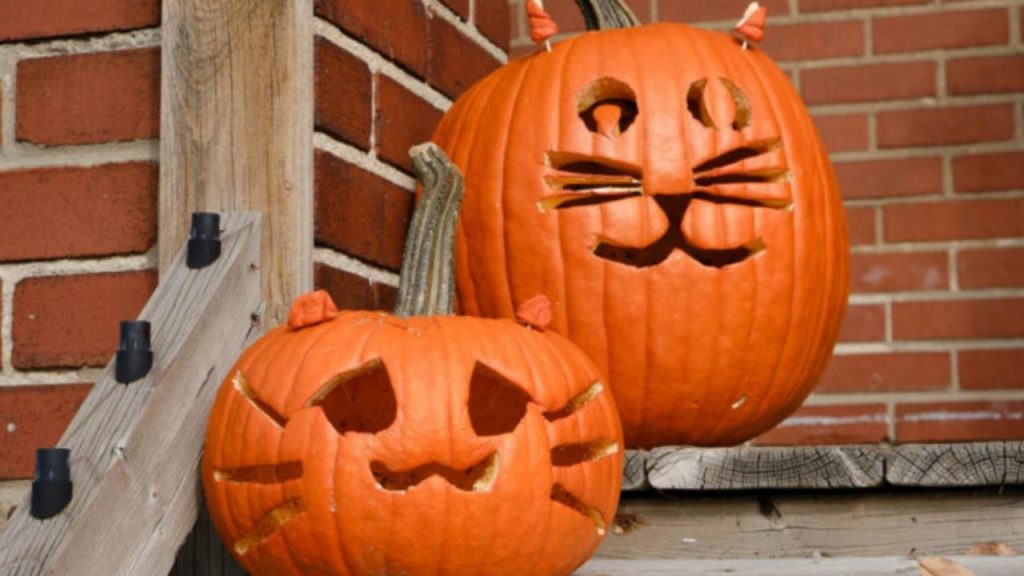
- Cat: Triangle ears, almond-shaped eyes, and a little nose make an adorable carved cat face. Whiskers can be etched in with a linoleum cutter.
- Fox: Small triangular ears, a pointy nose, and sly eyes can give your pumpkin some foxy style. Use a Dremel to carefully carve fur texture.
- Bat: Cut bat wings extending from the top of the pumpkin and add triangle ears. Etch in fur details with stippling tools for a lifelike look.
- Penguin: Give your pumpkin a tuxedoed penguin look with oval eyes and a v-shaped white belly. Use black and white paint for sharp contrast.
- Elephant: For nature lovers, carve oval ears, small eyes, and a long trunk. Gray paint and texture effects complete the elephant design.
Expert Carving Techniques
Once you’ve mastered basic carving, try taking your designs up a notch with these advanced tips:
- Shading: Use cross-hatching and stippling techniques to add shading and texture to your carved pumpkin. This creates more depth and realism in things like animal fur and clothing.
- Layering: Cut different levels and layers in your design to make some elements look closer and others seem farther back. This adds dimension and perspective.
- Power Tools: Invest in small power tools like a Dremel or rotary tool to help refine details and add finer embellishments. Always carve safely!
- Inverse Carving: Cut away the outside of your design so it stands out in relief for a dramatic 3D effect. This works well for bold shapes.
- LED Lights: Illuminate your jack-o-lantern designs from within using small LED lights. Pick orange, red, green, or other colors to enhance the mood.
- Embellishments: Add details like glitter, jewels, feathers, or props to further decorate your carved pumpkins. Secure with hot glue for durability.
Creative Theme Ideas
Take your pumpkin carving to the next level by giving your pumpkin lanterns a fun theme. Here are some creative ideas:
- Monster Mash: Carve an assortment of classic monster faces like vampires, werewolves, and mummies for a monster mash.
- Musical Notes: For music lovers, carve pumpkins with treble clefs, music notes, and instruments.
- Sports Team: Show team spirit with pumpkins representing your favorite sports franchises. Use logos and colors.
- Dia de los Muertos: Celebrate the Day of the Dead with colorful sugar skull and flower designs etched in detail.
- Pet Menagerie: Carve pumpkins to represent your favorite pets and animals. Collars, name tags, and textures add realism.
- Haunted Mansion: Deck out your porch with a haunted house theme using carved tombstones, ghosts, gargoyles, and spooky silhouettes.
Tips for Kids’ Carving
Pumpkin carving is a great activity for kids, but requires supervision. Keep these tips in mind for safe, successful carving:
- Have kids draw designs first so you can make carving guidelines before handing over sharp objects.
- Opt for larger carving tools that are easier for small hands to grip and control.
- Focus on simple shapes like triangles, circles, squares that are manageable for kids.
- Draw or apply designs to pumpkins for kids to color instead of carving.
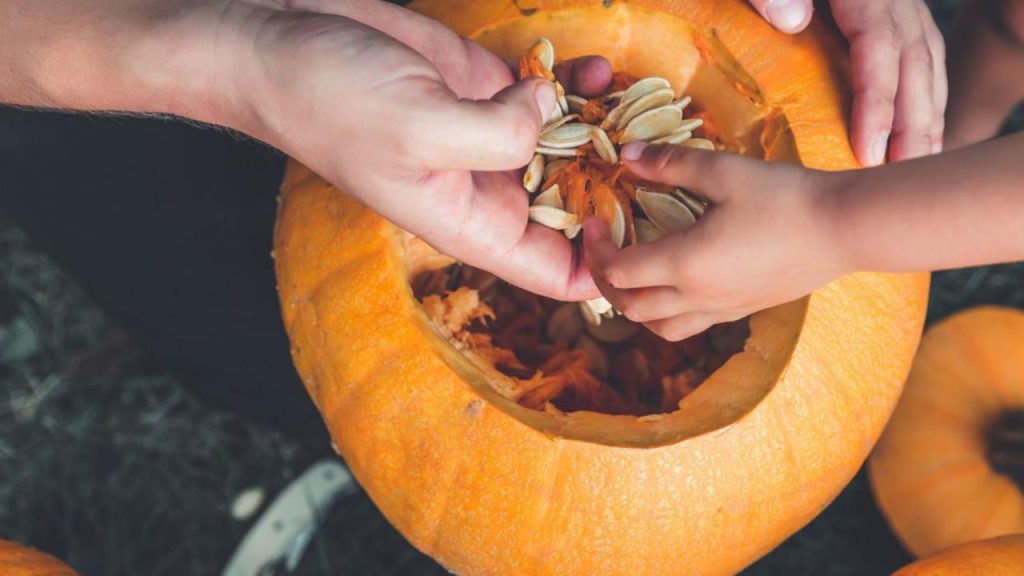
- Let kids scoop out the insides, which is often the most thrilling part for them anyway!
- For younger kids, use foam pumpkins or print out free pumpkin templates for them to decorate.
- Guide their hands first to teach proper carving techniques, stressing safety.
- Encourage creativity and fun over perfection. Crooked toothy grins have an endearing charm!
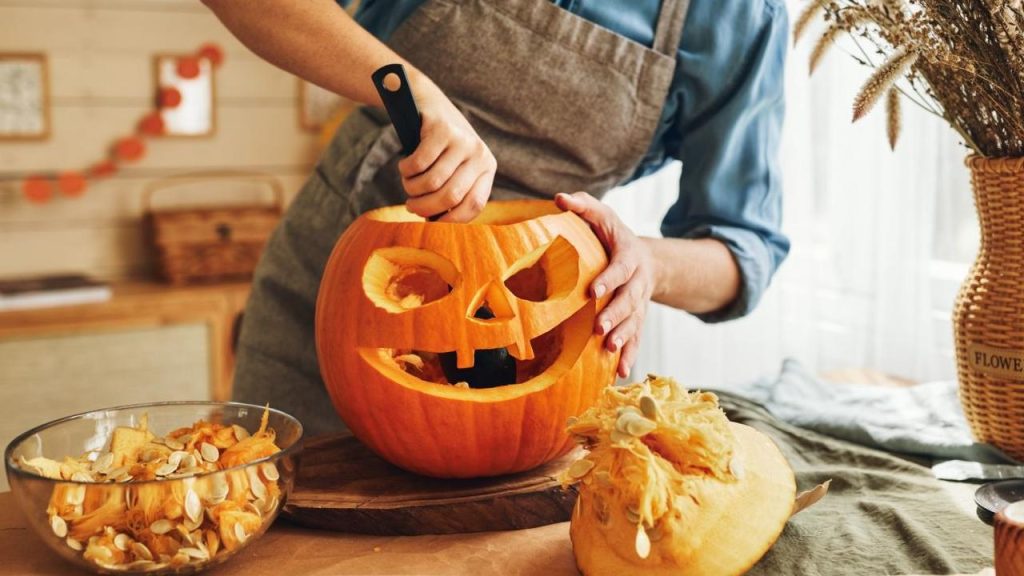
Tips for Carving the Perfect Pumpkin
To get the most out of your pumpkin carving fun, keep these general tips in mind:
- Pick a Good Pumpkin: Choose a pumpkin with thick, sturdy walls that will last through Halloween night. Avoid soft spots or holes. Select a large enough size for your design.
- Prep the Surface: Wash and dry your pumpkin thoroughly before carving to remove dirt and bacteria. Shave down any bumps or nubs with a potato peeler for a smooth surface.
- Draw First: Outline your design lightly in pencil first as a guide. Use a projection technique, template or freehand your sketch.
- Mind the Mess: Spread out old newspaper or a plastic tablecloth to contain the mess while carving. Cover clothes too. Carve outside if possible.
- Clear Out Guts: Use a large spoon or ice cream scoop to clear out the stringy insides. Save seeds for roasting if desired!
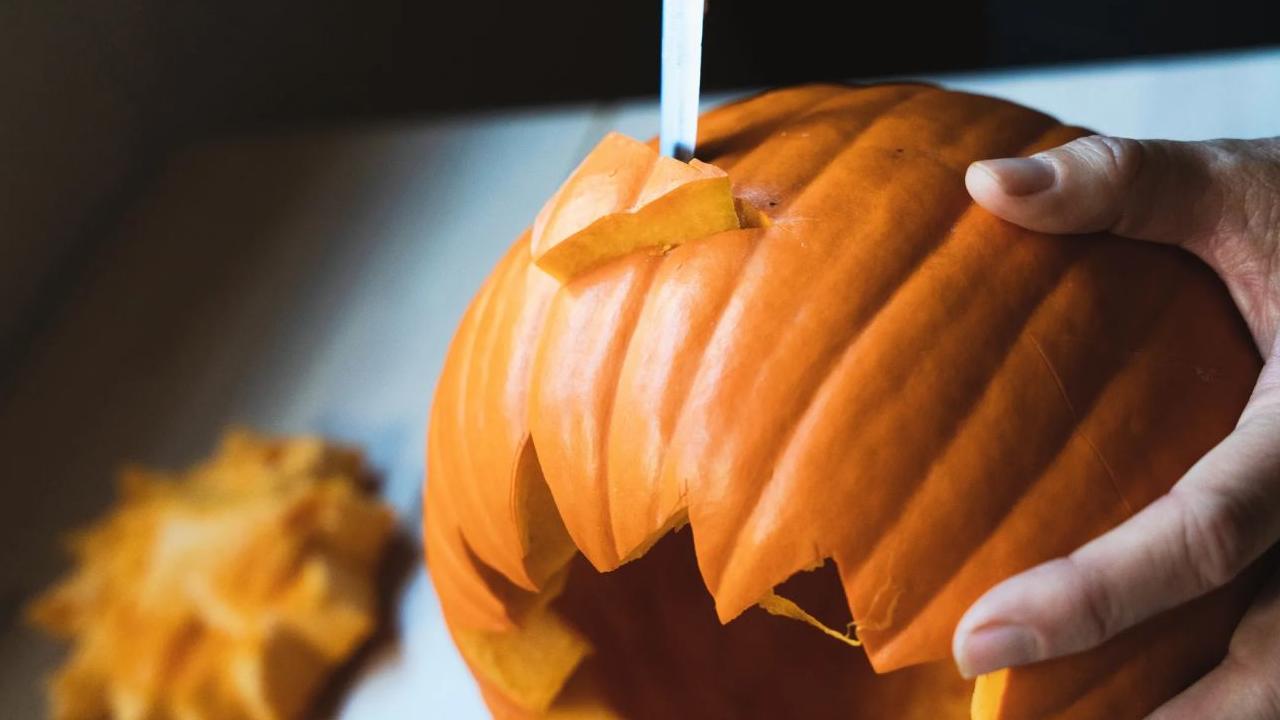
- Follow Safety Rules: Use sharp carving tools and have adult supervision. Cut away from yourself. Take breaks to avoid fatigue.
- Use Proper Technique: Saw back-and-forth rather than pressing in for clean cuts. Angle knife slightly and carve at 45 degree angles.
- Refine Details: Once carved, go back and refine shapes and lines with smaller tools. Add interest with textures, paint, or embellishments.
- Preserve It: Apply a sealant like petroleum jelly inside and out to make carved pumpkins last longer before rotting.
- Light It Up: Display your finished pumpkin lantern on the porch or step with a tealight candle inside to light up your design.
- Carve Early: Carve your pumpkin no more than 5 days before Halloween to ensure it stays fresh-looking for trick-or-treaters.
Troubleshooting Carving Problems
Don’t let minor mishaps ruin your pumpkin carving fun. Here’s how to troubleshoot common issues:
Pumpkin Walls Too Thin: Switch to a thicker-walled pumpkin, or just embrace the imperfections and make it part of your design!
Cuts Not Clean: Sharpen your tools, cut slower, and look back and forth more. If needed, neaten edges with small carving tools.
Surface Bumps: Carefully shave down bumps and nubs with a potato peeler before carving for a smoother surface.
Pumpkin Rotting: Carve closer to displaying, disinfect tools between cuts, and apply petroleum jelly to preserve your pumpkin longer.
Cuts Healing Over: If you need to carve your pumpkin more than 2-3 days before display, cover carved areas with plastic wrap to prevent surface from healing over.
Candle Smoke: Make sure your candle is far enough from carved holes so smoke can ventilate. Use an LED light instead of a real candle to prevent smoking issues.
Candle Fire: Never leave a lit jack-o-lantern unattended. Make sure tealights are in stable holders and always keep a water bucket or fire extinguisher on hand just in case.
With a little creativity and these carving tips in mind, you’ll be ready to make a show-stopping pumpkin lantern this Halloween! Don’t be afraid to get inventive with your designs. The scarier, sillier or more creative your pumpkin is, the better it will look lit up on All Hallows’ Eve. Just carve safely, have fun, and let your imagination run wild to make a unique pumpkin that will be the talk of your neighborhood this Halloween season.

Leave a Comment