Tired of dated, damaged wallpaper? Ready to strip it off and reveal the blank canvas underneath? Removing old wallpaper can be a tedious and messy chore, but with the right tools and technique, you can peel it off like a pro.
This comprehensive guide covers everything you need to know about DIY wallpaper removal, from prepping the space to scraping off every last scrap. Follow these pro tips for smooth walls free of stubborn adhesive residue. That fresh coat of paint or new wallpaper awaits!
Why Remove Wallpaper?
Before we dive into the removal process, let’s review some of the top reasons for stripping wallpaper:
- It’s outdated or damaged – Over time, wallpaper can tear, peel, discolor, or simply go out of style.
- To access the original wall surface – You may want to paint, install new wallpaper, or just expose the original plaster or drywall underneath.
- To remove adhesive residue – Old adhesive can prevent new wallpaper from properly adhering.
- It was improperly installed – Bubbling or peeling wallpaper needs removal before replacing.
- To change up home decor – Peel off busy patterns and textures for a new minimalist look.
- You’re moving – Incoming homeowners may want clean blank walls to put their own stamp on.
Whatever your reasons, stripping wallpaper isn’t as scary as it sounds with the proper prep and tools.
Wallpaper Removal Supplies Needed
Gather these supplies before starting demo day:
- Ladder – For reaching upper wall sections
- Drop cloths – Protect floors from water drips and wallpaper scraps
- Scoring tool – Use a wallpaper scorer or perforation tool to penetrate surface
- Water sprayer – Garden sprayer, spray bottle, or rental wallpaper steamer
- Scrapers – Use a wallpaper scraper, putty knife, and plastic scraper for adhesive
- Scrub brushes – Help scrub off leftover adhesive residue
- Drywall joint compound – Spreads easily and sands smoothly
- Sandpaper – For smoothing down walls post-removal
- Primer/paint – Finish prepped walls with fresh coats of color
Pro tip: Start by stripping a small section as a test patch. This will reveal what tools work best and how much effort your walls will require.
How to Remove Wallpaper – Step-by-Step
Now let’s walk through the full wallpaper removal process from start to finish:
Step 1: Prepare the Space
Clear furniture away from walls. Roll up rugs and cover floors with drop cloths. Have a trash bag ready for debris. Turn on ventilation fans – it’s about to get steamy!
Step 2: Score the Wallpaper Surface
Use a scoring tool or very sharp craft knife to lightly score the wallpaper surface. This perforates the paper to allow moisture underneath. Work top to bottom in a grid pattern.
Step 3: Apply Water
Use a spray bottle, garden sprayer or rental steamer to thoroughly wet wallpaper. Avoid flooding the walls. Let soak 5-10 minutes so moisture can penetrate scored paper.
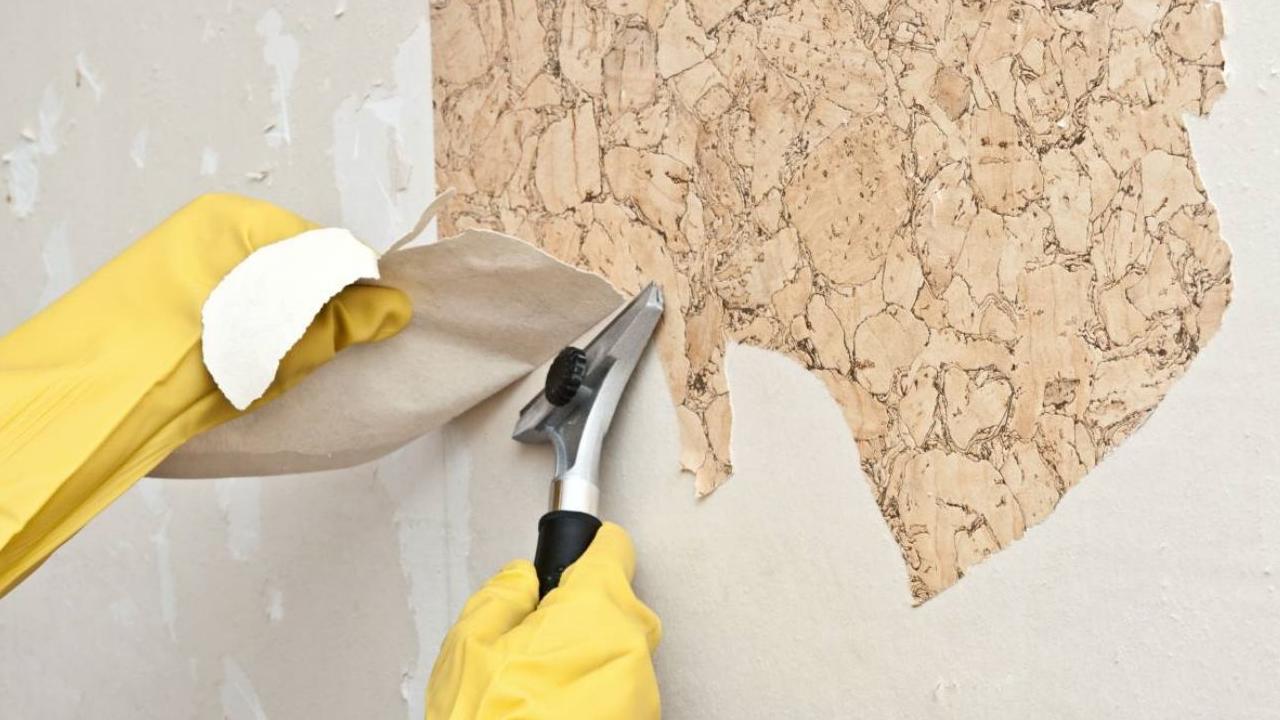
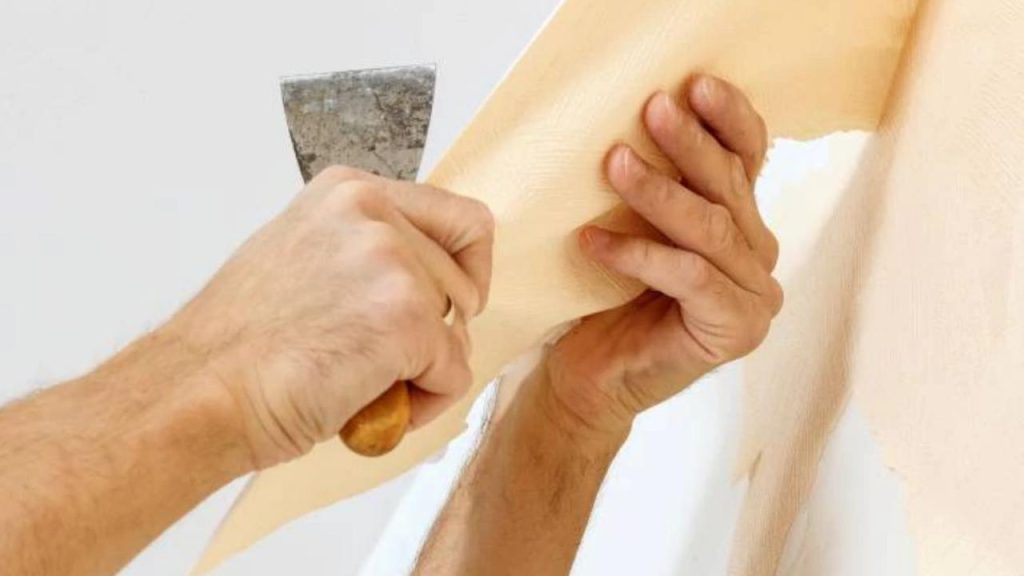
Step 4: Peel Off Wallpaper
Start peeling paper away using a wallpaper scraper tool. Apply more water as needed while you work. Goal is to remove in full sheets rather than small bits.
Step 5: Clean Adhesive Residue
Inspect for any leftover sticky adhesive. Use a plastic scraper to remove stubborn glue, rewetting as needed. Avoid gouging drywall underneath.
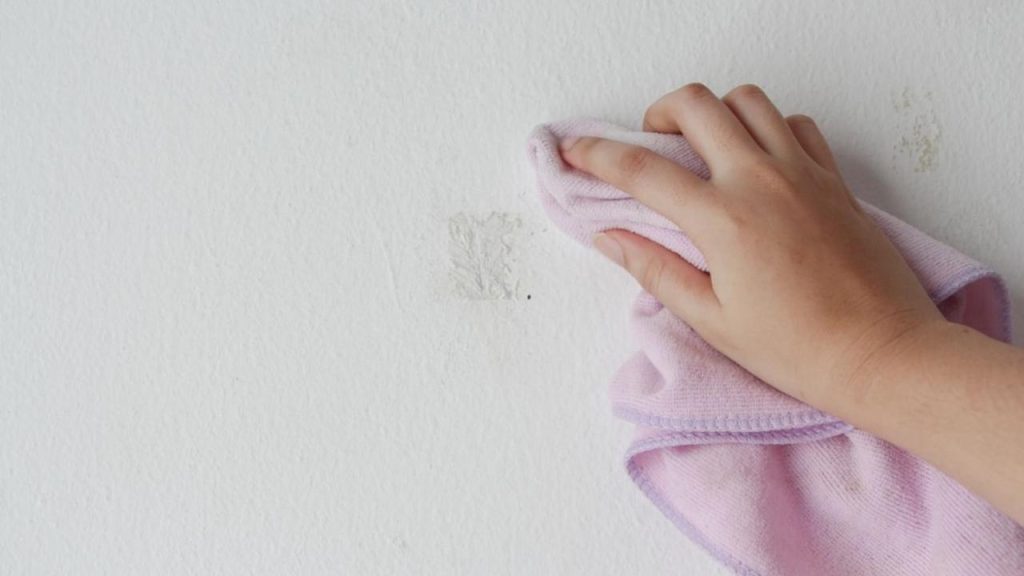
Step 6: Wash Walls
Wipe down walls with clean water, changing rinse water often. This removes excess glue and debris from bare wall surface underneath.
Step 7: Let Dry
Allow walls to fully dry before moving onto next steps. This prevents issues with paint or new wallpaper adhesion later.
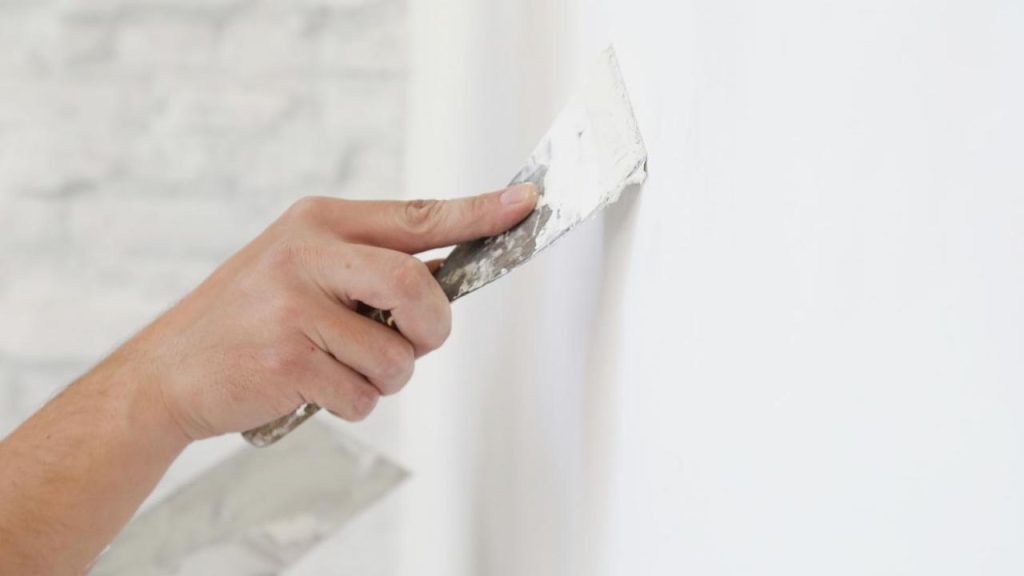
Step 8: Sand and Skim Coat
Lightly sand bumps or uneven areas, then apply 1-2 thin coats of drywall joint compound with a putty knife for smooth finish.
Step 9: Prime and Paint
Once patching is dry and smooth, apply primer followed by desired paint colors to revitalized blank walls!
Done properly, you’ll reveal pristine walls ready for your desired paint, texture, or new wallcovering.
Wallpaper Removal Tips and Tricks
Follow these pro tips and tricks for easier, damage-free wallpaper removal:
- Work top to bottom for fewer drips.
- Scorevin a crosshatch pattern to maximize moisture penetration.
- Apply steamer at an angle near the ceiling to avoid drips.
- Use broad, smooth scraper strokes to avoid gouging drywall.
- Remove border wallpaper separately using gentler techniques.
- Avoid leaving water pools sitting on wallpaper; blot frequently.
- Wear work gloves to protect hands from sharp scraper blades.
- Use mild dish soap and water to scrub off stubborn adhesive residue.
- Rinse walls several times to eliminate all glue before drying and priming.
- Sand gently when smoothing walls to prevent damaging drywall layers underneath.
With some finesse and patience, you can strip wallpaper cleanly without harming the wall surface.
Troubleshooting Tricky Wallpaper Removal
Having issues getting those dated walls bare? Try these troubleshooting tips:
Wallpaper won’t peel off in full sheets
- Rescore surface and increase water to fully penetrate top layer. Re-soak and let sit longer before peeling.
Adhesive won’t scrub off completely
- Try adhesive remover solution or white vinegar. Use a textured scrub pad for heavy glue buildup in small area.
Wall surface feels uneven after removal
- Apply a thin skim coat of joint compound to smooth. Sand bumps gently. May need to reapply 1-2 coats.
New wallpaper or paint isn’t adhering properly
- Make sure all adhesive residue was fully removed before applying new finishes. Use proper primer.
With the right supplies and techniques, that dated wallpaper doesn’t stand a chance against your removal prowess!
Preparing Walls After Removing Wallpaper
Once you’ve eliminated all traces of old wallpaper and glue from walls, properly prep for new finishes:
- Inspect closely for any remaining bumps, tears, or uneven areas. Fill small holes or nicks with drywall putty.
- Lightly sand entire wall surface with fine 120-150 grit sandpaper to roughness for paint adhesion.
- Wash sanded walls with clean water and let fully dry to eliminate dust.
- Apply high-quality primer like Zinsser Bulls-Eye 123 to seal surface.
- Finish with desired interior wall paint colors or install new wallpaper.
Your walls will look amazingly smooth, fresh, and revitalized – the perfect blank slate for your vision!
When to Hire a Wallpaper Removal Pro
While DIY removal is possible in many homes, some situations call for a professional:
- Wallpaper covers an entire room from floor to ceiling
- Intricate textures, patterns, or delicate materials
- Thick vinyl wallpaper, metallic finishes, or multiple layers
- Signs of mold or mildew behind existing wallpaper
- Plaster walls, which require extra care to prevent damage
If you uncovered lead paint or asbestos while testing, call in an abatement team. Don’t attempt this hazardous removal yourself.
Frequently Asked Wallpaper Removal Questions
Still have questions about stripping wallpaper? Here are some commonly asked queries:
What’s the easiest wallpaper to remove?
Standard paper wallpapers are easiest. Avoid foam-backed vinyls, metallic finishes, or textures like grasscloth.
How do you remove stubborn old wallpaper glue?
Hot water, adhesive remover solution, white vinegar, and a textured scrub sponge can conquer stubborn glue.
Can I paint over existing wallpaper?
It’s not recommended. New paint won’t properly adhere and flaws in the wallpaper often bleed through the paint.
What about wallpaper borders in kitchens or baths?
Use a gentle hand and mild dish soap and water solution. Avoid flooding moisture on drywall.
With some perseverance and the right technique, you can eliminate every last shred of outdated wallpaper. Just take it slow and steady.
Conclusion
Removing old damaged wallpaper can seem like a nightmare, but with this comprehensive guide, you can peel, scrape, and strip it off like a pro. Start by assembling supplies like a wallpaper scoring tool, sprayer, scraper, and drywall repair products. Carefully score the wallpaper surface to allow moisture underneath, then thoroughly wet. Peel off in sheets once adhesive softens. Eliminate all leftover glue residue using hot water, vinegar, or remover solution. Finish up with sanding for smoothness and apply primer and paint for a fresh blank slate. Just take precautions against damage if handling plaster walls or intricate paper finishes. With patience and the right technique, you can easily tackle DIY wallpaper removal and unveil beautiful walls that pop with your unique style.
Do you have any tips or tricks for flawless wallpaper removal or preparing walls for new finishes? Share your expertise in the comments below!

Leave a Comment